


MongoDB is a popular and powerful NoSQL database that offers high performance, scalability, and flexibility. If you're a Windows user and looking to install MongoDB on your machine, this blog post will guide you through the installation process step by step. Let's get started!
Prerequisites
Before we begin, make sure you have the following prerequisites in place:
Windows OS: MongoDB supports Windows 7 or later versions, including Windows Server 2008 R2 or later.
Administrator Access: Ensure that you have administrative privileges on your Windows machine to install MongoDB.
Step 1: Download MongoDB Installer
To install MongoDB, you need to download the MongoDB Community Edition installer. Follow these steps:
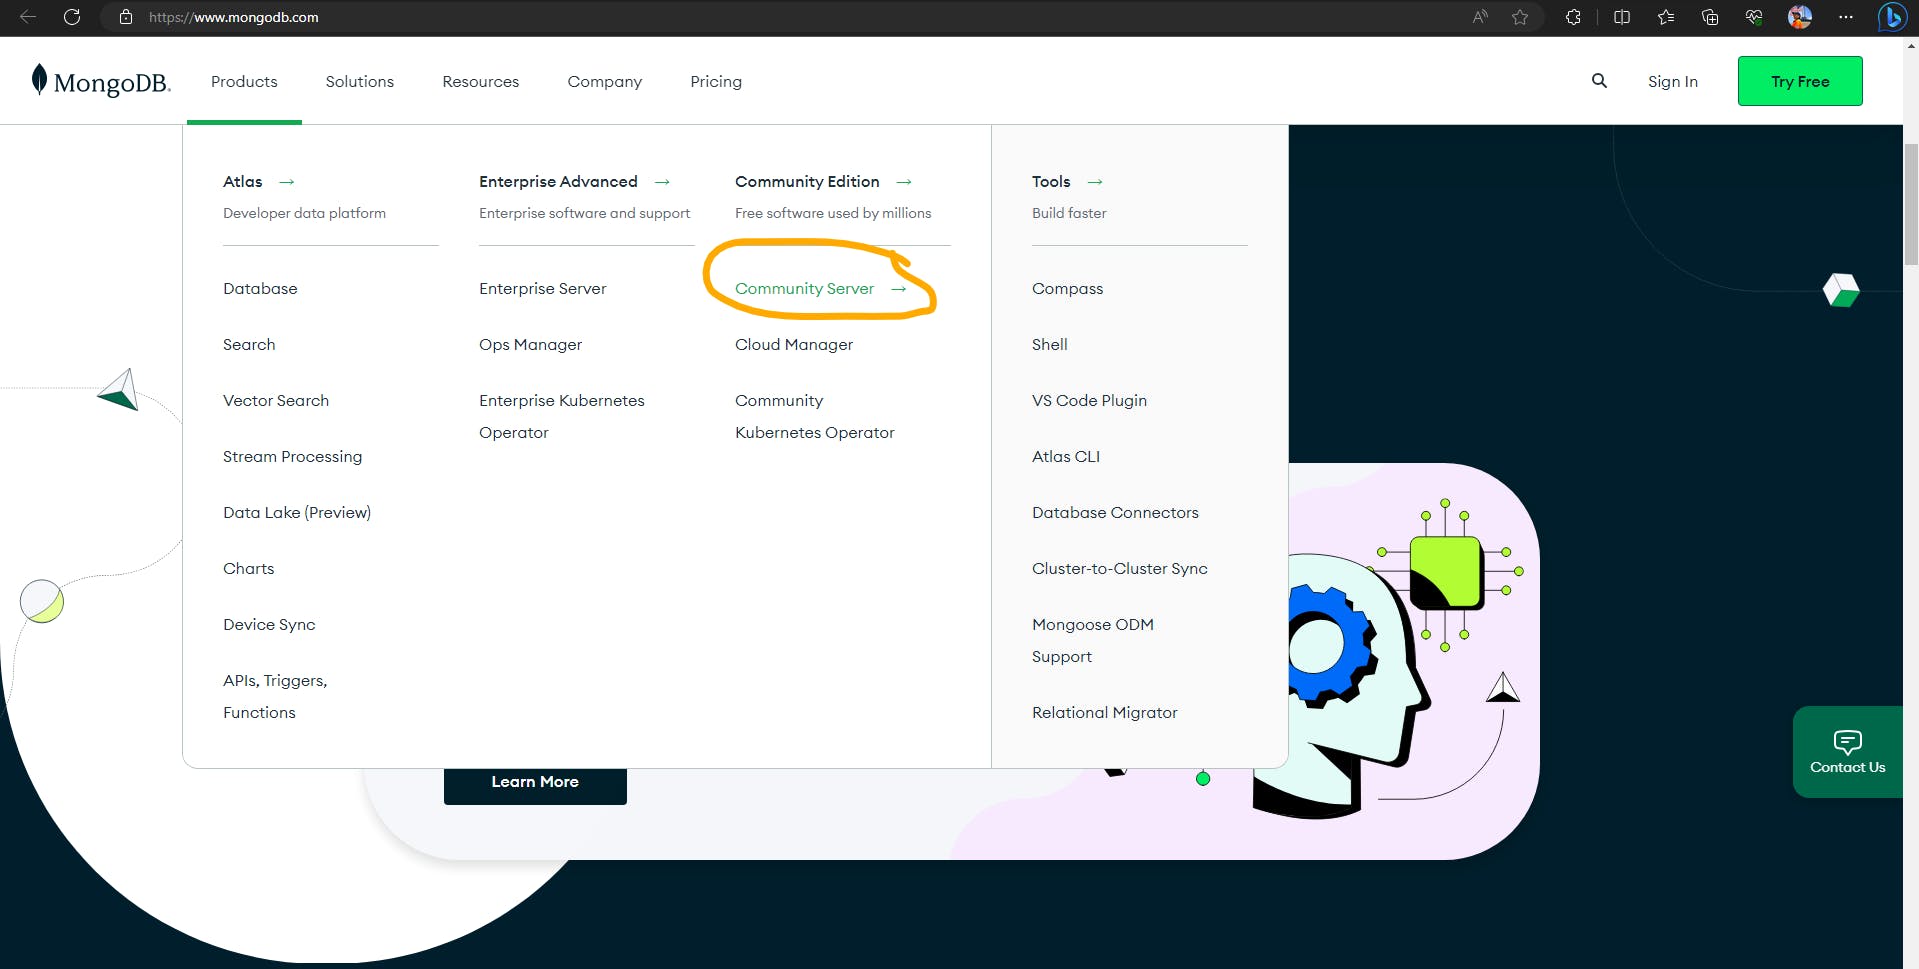
Visit the MongoDB website at mongodb.com in your web browser.
Hover on "Products" in the top navigation menu then click on the "Comunity Server".
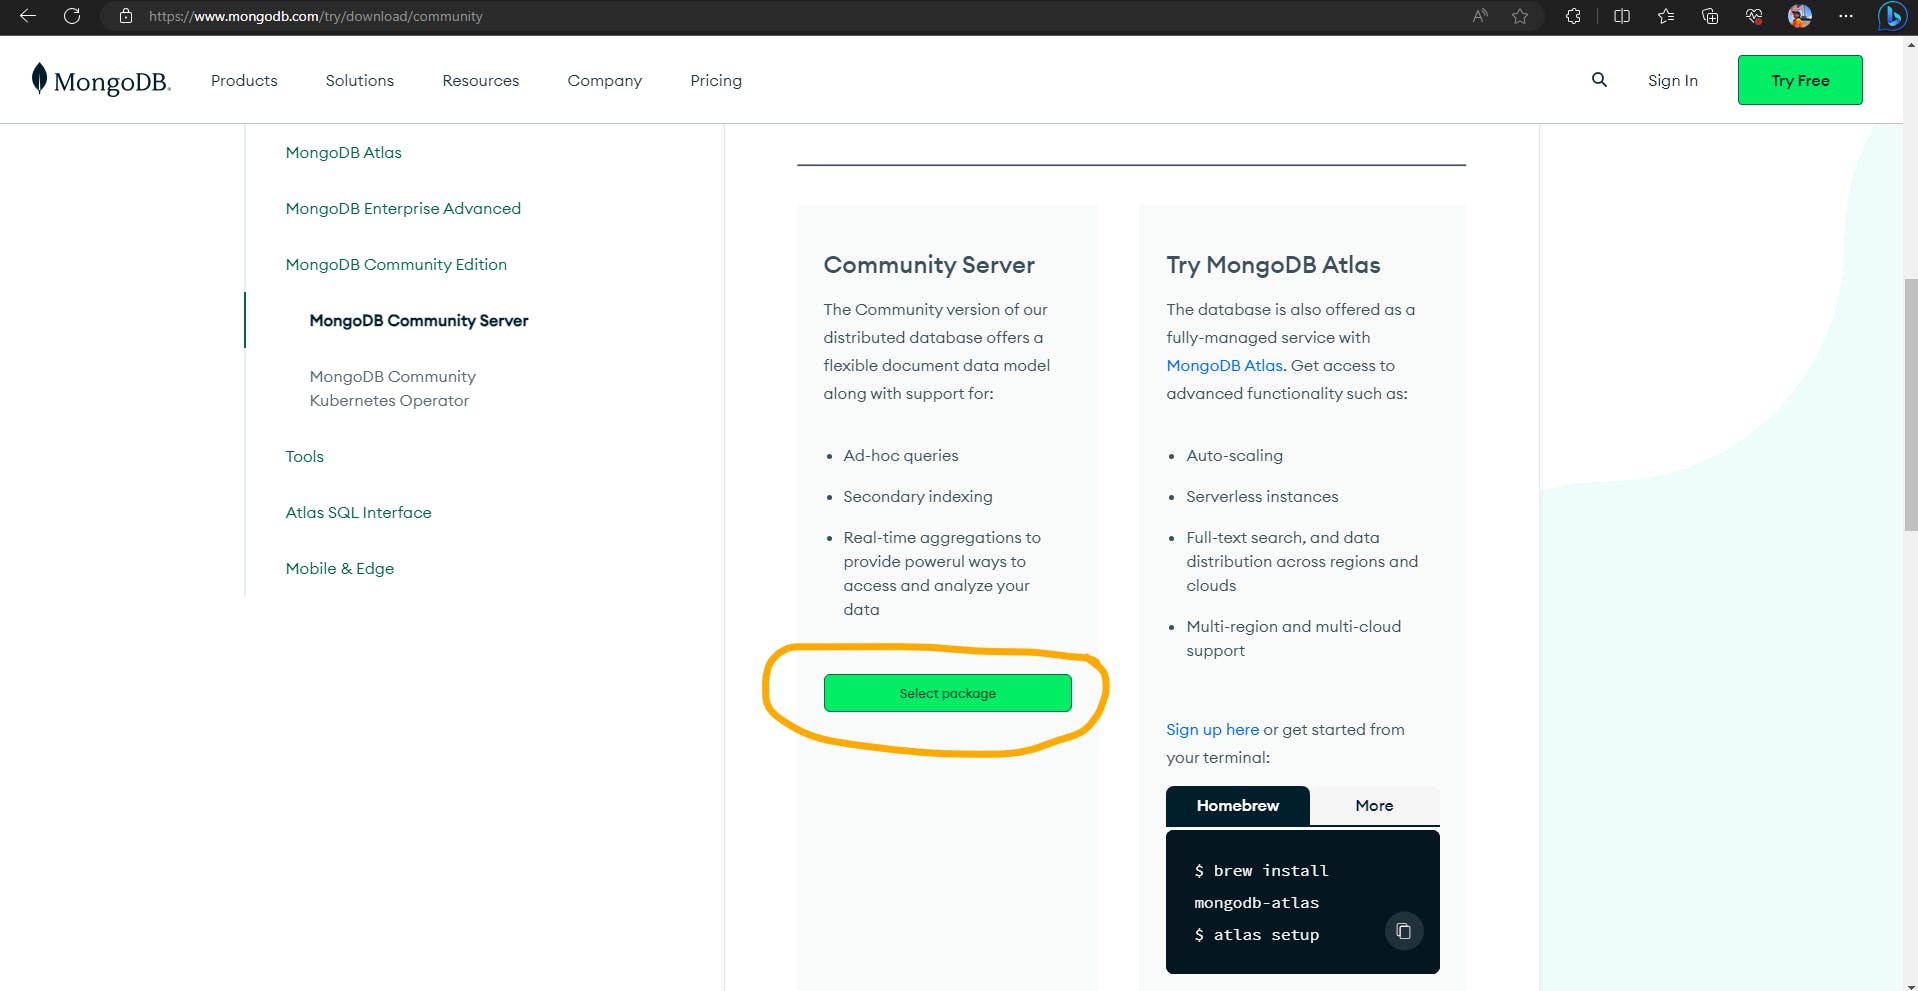
Scroll down and click on the "Select package" button.
Scroll a bit down and click on the "Download" button for the latest stable version compatible with Windows.
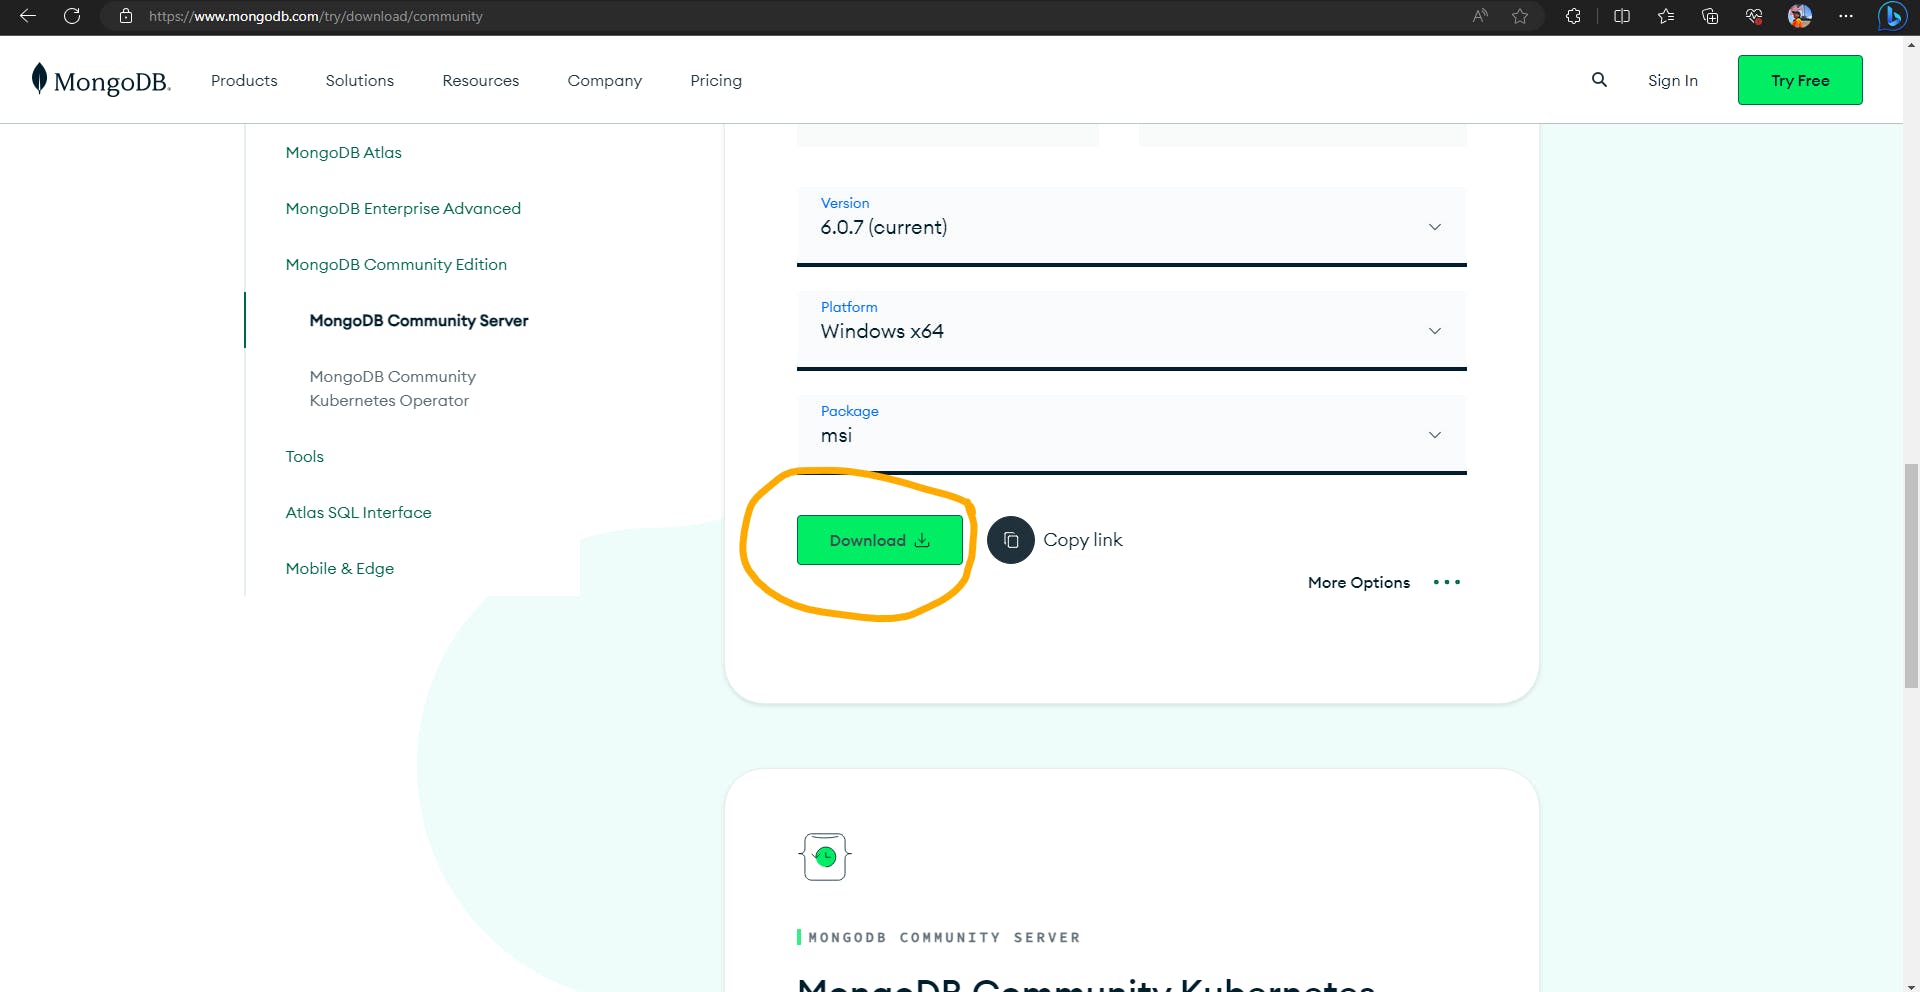
- Save the installer file to a location on your computer.
Step 2: Run the Installer
Once the installer is downloaded, you can proceed with the installation process:
Locate the downloaded installer file and double-click on it to run the installer.
The MongoDB Setup Wizard will open. Click "Next" to continue.
Read and accept the MongoDB license agreement, then click "Next."
Choose the setup type. For most users, the "Complete" setup type is recommended, as it installs both the MongoDB server and tools. Click "Next" to proceed.
On the next screen, choose "Run service as network service user" option and click "Next".

You may change the default service name but it is recommended to keep the default "MongoDB" name to identify it easily.
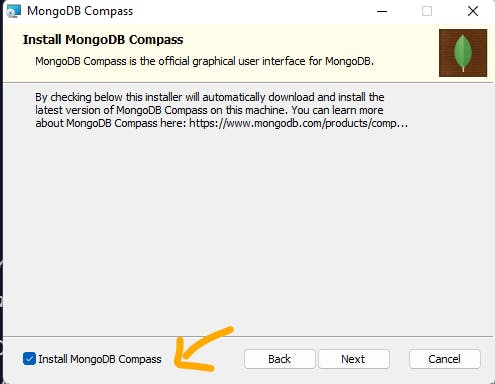
On the next screen, you can select additional features to install, such as MongoDB Compass, which provides a graphical interface for MongoDB. Make your selections and click "Next."
- Finally, click "Install" to start the installation process.
Step 3: Configure MongoDB
After the installation is complete, you'll need to configure MongoDB:
On the final screen of the installer, leave the "Run MongoDB Compass" checkbox checked if you installed MongoDB Compass and want to launch it after installation. Click "Finish" to exit the installer.
Next, you'll need to add the MongoDB binaries to your system's PATH environment variable:
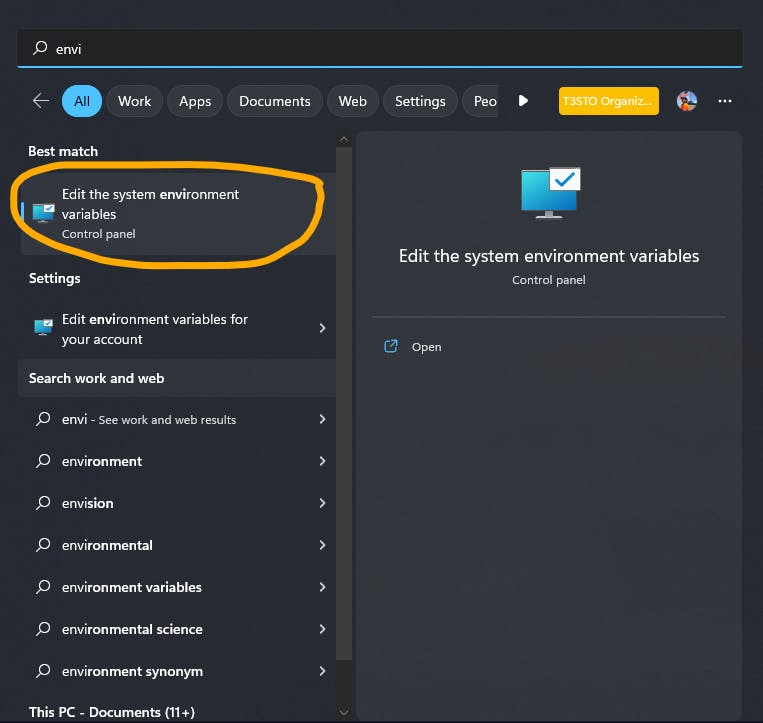
Open the Windows Start menu and search for "Environment Variables."
Select "Edit the system environment variables."
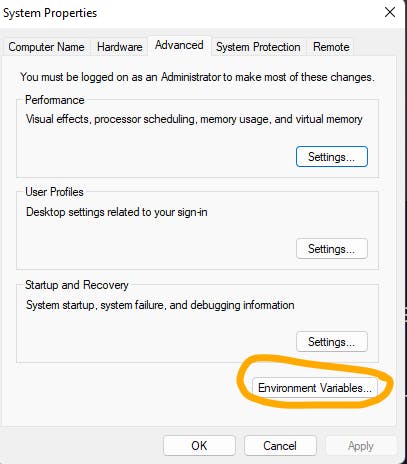
In the "System Properties" window, click on the "Environment Variables" button.
In the "System variables" section, select the "Path" variable and click on the "Edit" button.
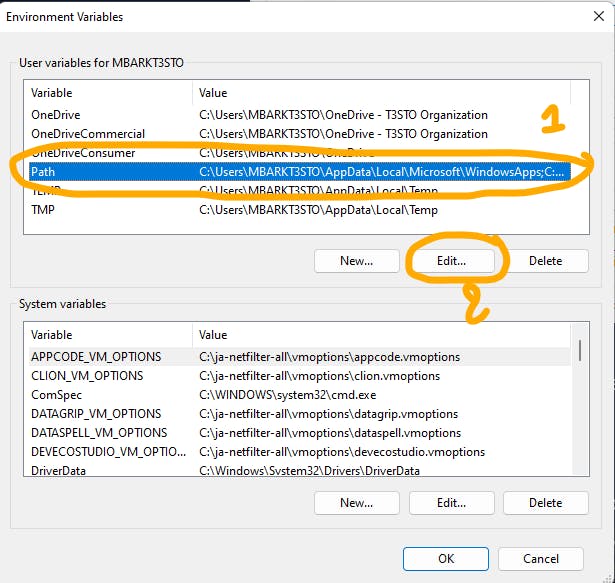
Click on the "New" button and add the path to the
bindirectory of your MongoDB installation. For example,C:\Program Files\MongoDB\Server\{version_number}\bin(for meC:\Program Files\MongoDB\Server\6.0\bin).
Click "OK" to save the changes.
- MongoDB is now installed and configured on your Windows machine.
Why Add the MongoDB Binaries to the PATH Environment Variable?
Adding the MongoDB binaries to the system's PATH environment variable allows you to access MongoDB from any location in the command prompt without specifying the full path to the MongoDB executable. It enables you to run MongoDB commands and utilities from any directory without changing the current directory to the MongoDB installation folder.
Step 4: Verify the Installation
To ensure that MongoDB is successfully installed, you can verify it using the command prompt:
Open the command prompt by pressing
Win + Rand typingcmd, then hit Enter.In the command prompt, type
mongo --versionormongod --versionand press Enter.If MongoDB is correctly installed, it will display the version number and other details of the installed MongoDB instance.
Congratulations! You have successfully installed MongoDB on your Windows machine. You can now start using MongoDB for your development projects and explore its powerful features.