How to Setting Up RabbitMQ on Windows?

Introduction
RabbitMQ is a popular message broker that enables applications to communicate with each other through messages. It is open-source and supports multiple messaging protocols, making it a versatile option for a wide range of applications. In this article, we will guide you through the process of setting up RabbitMQ on a Windows operating system.
Prerequisites
Before setting up RabbitMQ, you need to ensure that you have the following:
A Windows operating system (Windows 7 or later)
Erlang OTP (Open Telecom Platform) installed on your system. You can download the latest version from Erlang Solutions
RabbitMQ server installer for Windows, which can be downloaded from the RabbitMQ website
Installation
Once you have the prerequisites in place, you can proceed with the installation of RabbitMQ. Follow these steps to install RabbitMQ on your Windows system:
Run the RabbitMQ server installer and click on the "Next" button to start the installation process.
Accept the license agreement and click on "Next" to proceed.
Choose the installation location and click on "Next".
Select the features you want to install and click on "Next".
Click on "Install" to begin the installation process.
Wait for the installation to complete and then click on "Finish" to close the installer.
Configuration
Once RabbitMQ is installed, you need to configure it to run on your system. Follow these steps to configure RabbitMQ:
Open the Command Prompt as an administrator and navigate to the RabbitMQ installation directory (example:
C:\Program Files\RabbitMQ Server\rabbitmq_server-3.11.7\sbin).Type the command
rabbitmq-service.bat installand press Enter to install the RabbitMQ service.Type the command
rabbitmq-service.bat startto start the RabbitMQ service.Type the command
rabbitmq-plugins.bat enable rabbitmq_managementto enable the management plugin, which allows you to access the RabbitMQ management console.Open a web browser and navigate to
http://localhost:15672/to access the management console.
How to log in?
Once you have set up RabbitMQ on your Windows system and enabled the management plugin, you can log in to the management console to monitor and manage your RabbitMQ server. Here's how to log in:
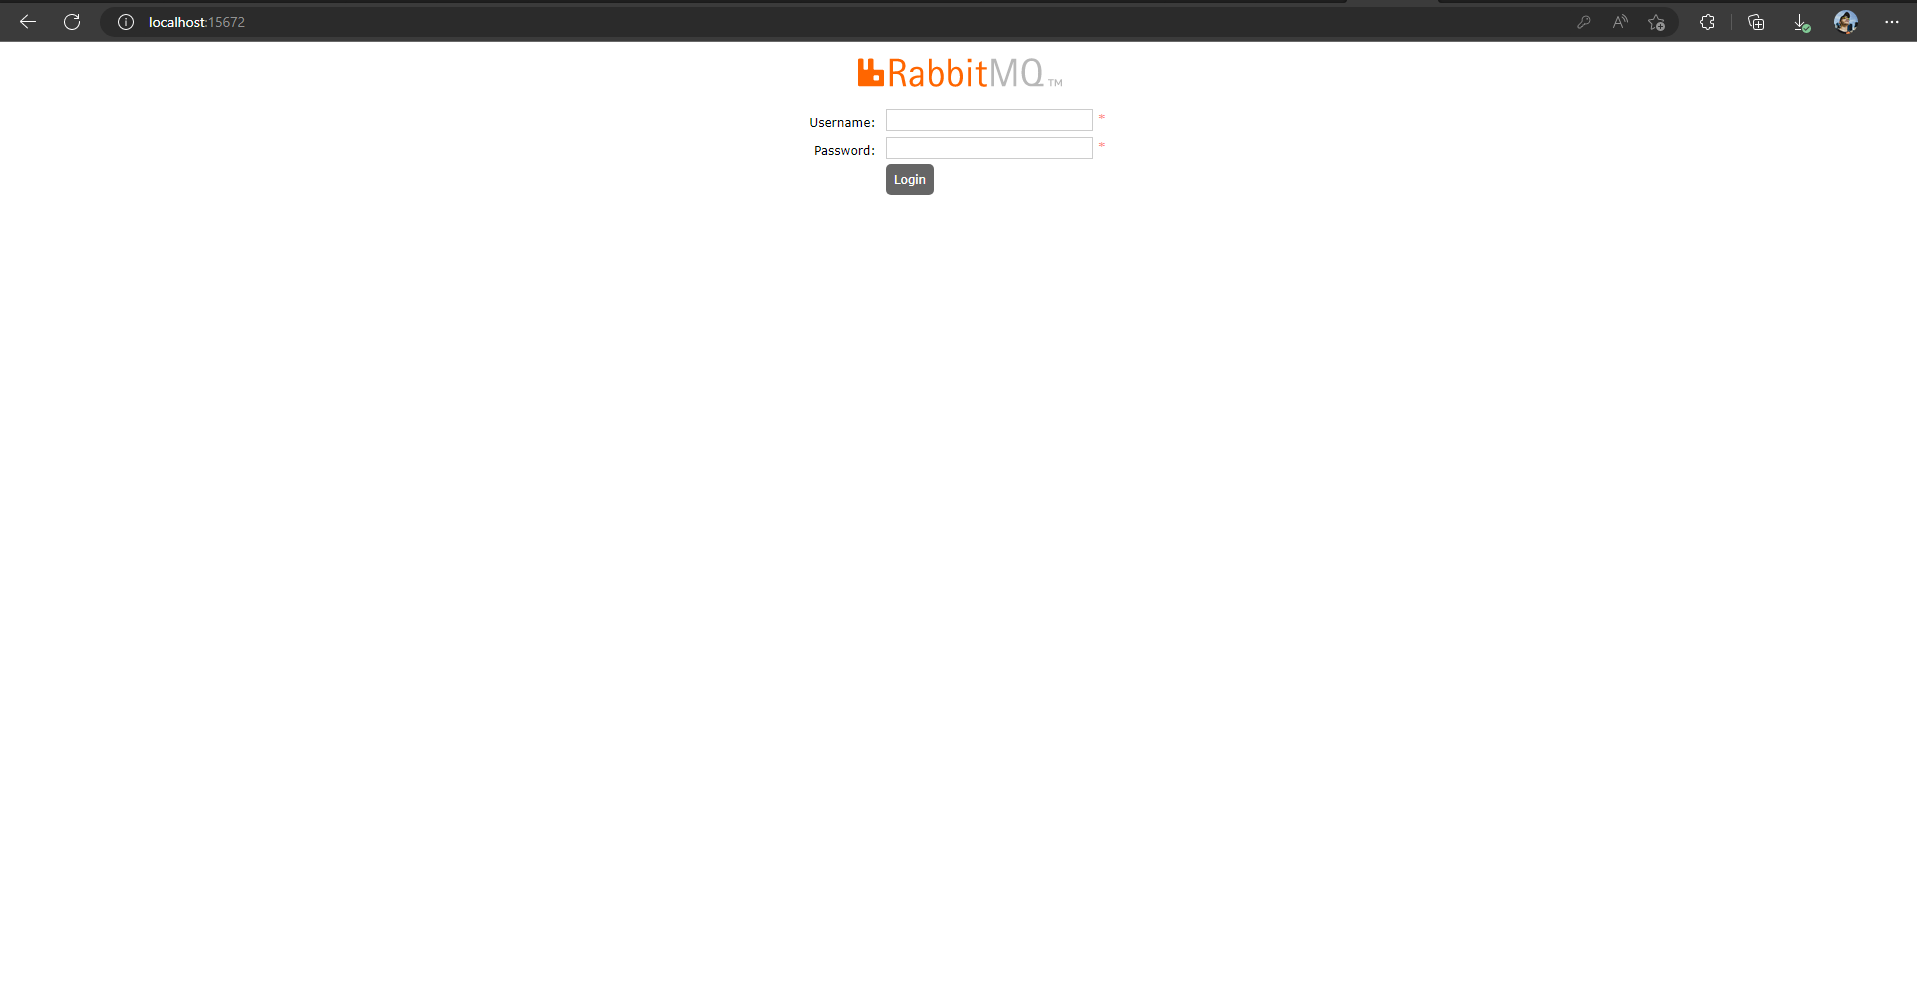
Open a web browser and navigate to
http://localhost:15672/. This is the default URL for the RabbitMQ management console.You will be prompted to enter a username and password. By default, the username is "guest" and the password is also "guest".
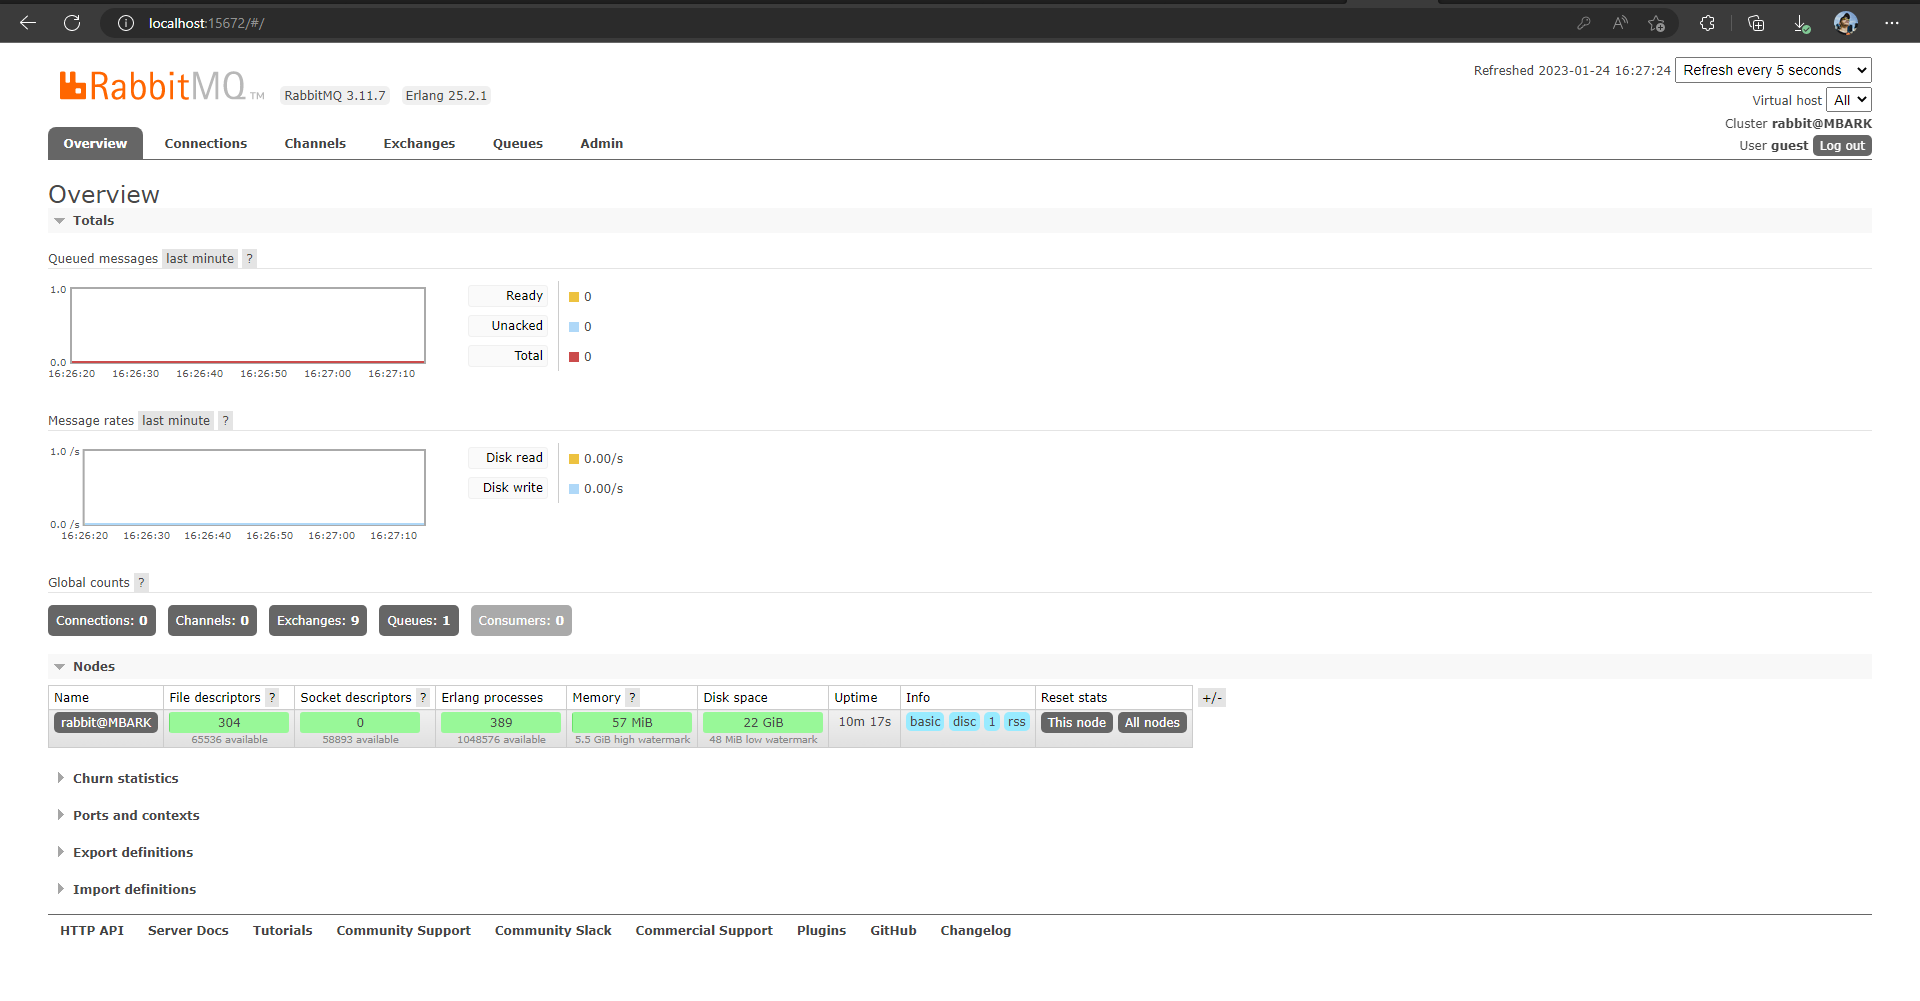
Click on "Log In" to access the management console.
Once you are logged in, you will be able to access various features such as monitoring queue status, managing users, and viewing node information.
How to Change Login Credentials?
Once you have logged in to the RabbitMQ management console, you can change the login credentials via the browser. Here's how:
Log in to the RabbitMQ management console using the default username and password (guest/guest).
Once you are logged in, click on the "Admin" tab on the top navigation bar.
Under the "Admin" tab, you will find an option for "Users". Click on this option to view a list of existing users.
Click on the "guest" user to edit their details.
In the "Update this user" section, enter the new password and confirm it.
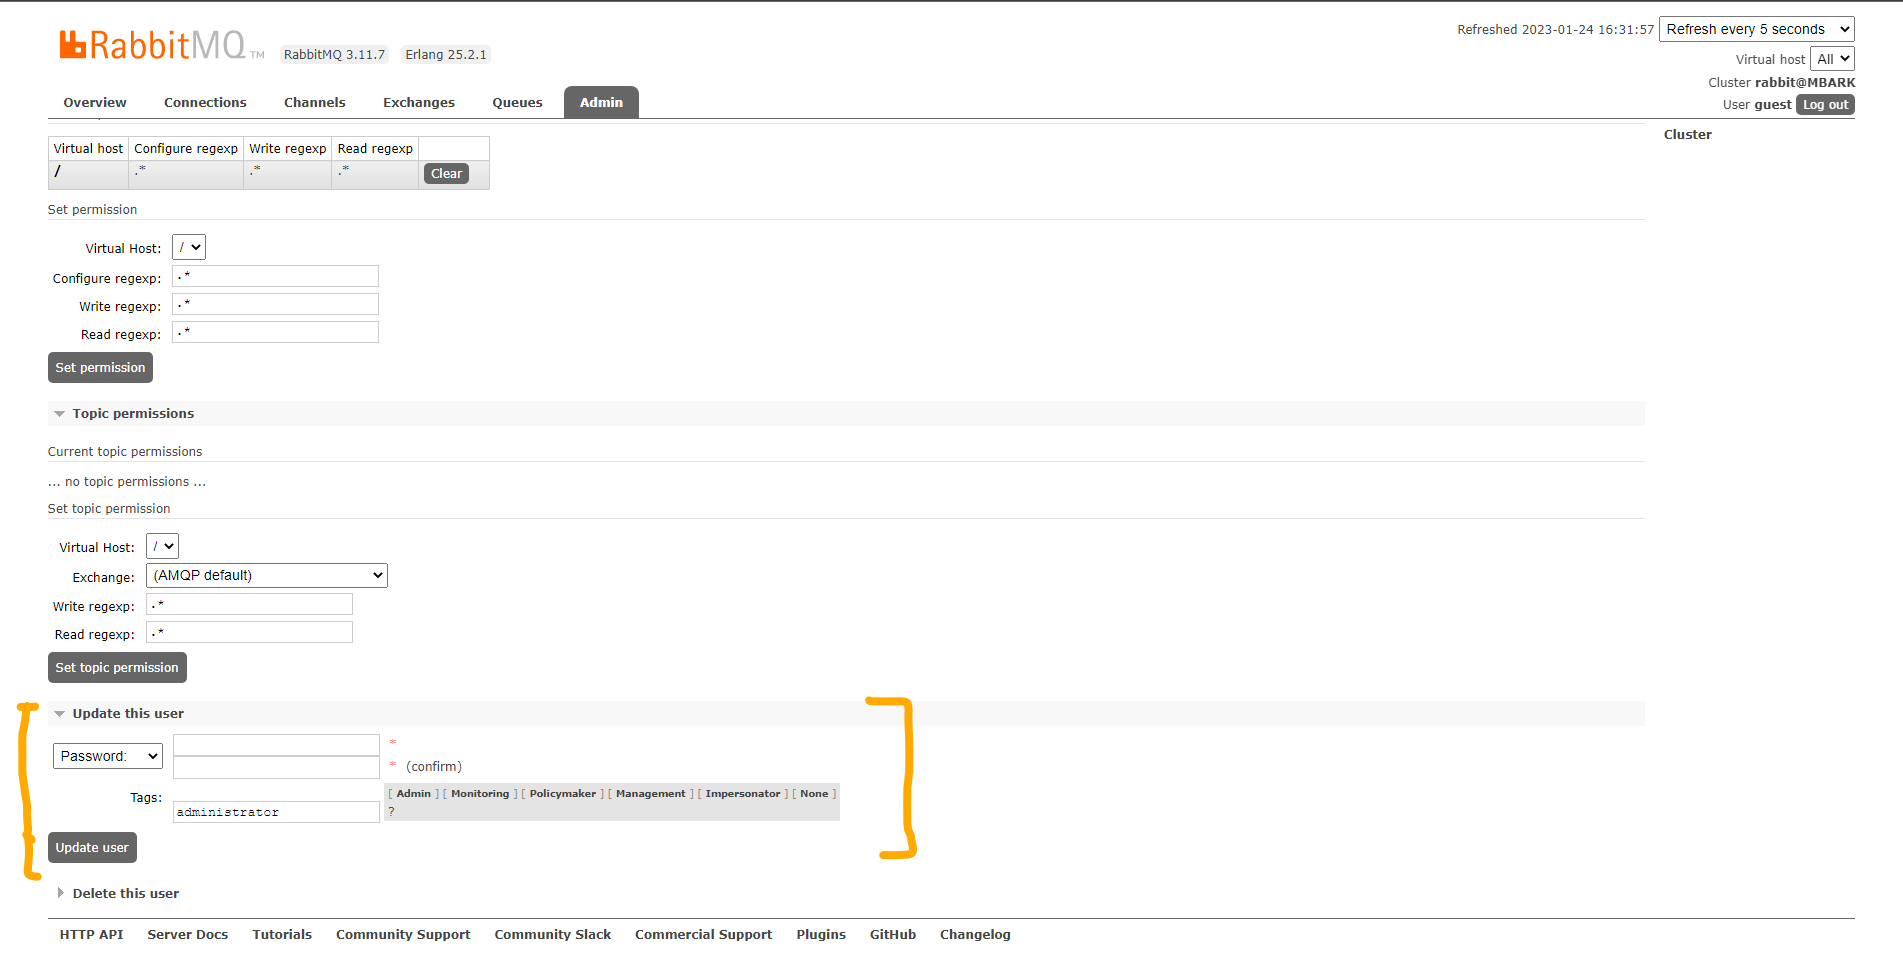
Click on the "Update user" button to save the changes.
Log out of the management console and log back in using the new password.
Note: It's important to change the default login credentials for security reasons. Also, it's recommended to use HTTPS protocol instead of HTTP to access the management console.
Starting and Stopping RabbitMQ
To start RabbitMQ using the Command Prompt (CMD), open CMD and run the following command:
net start RabbitMQ
To stop RabbitMQ using the Command Prompt (CMD), open CMD and run the following command:
net stop RabbitMQ
Note that these commands require that RabbitMQ is installed and configured as a Windows service. If you are running RabbitMQ on a different operating system or installed it in a different way, the commands may be different.


